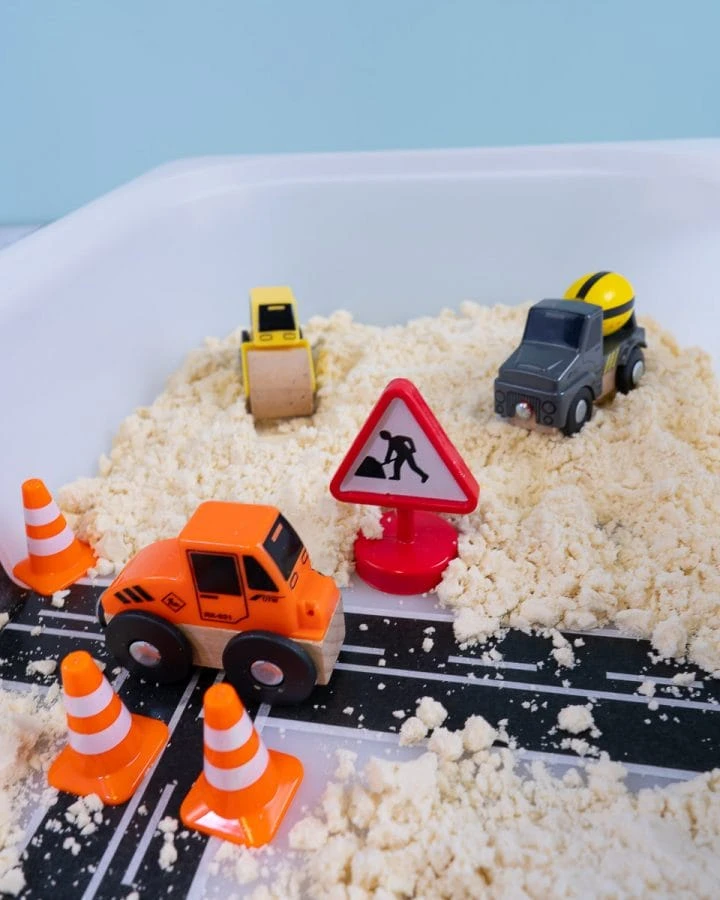
Moon sand, also known as homemade sand, is an awesome sensory play tool and kids will have hours of fun with this taste safe moon sand recipe. The great thing about moon sand is that it is so easy to make: this DIY sand recipe requires just 2 cupboard staples: flour and oil!
Our toddlers love using the moon sand to create construction scenes, beach days and, as its easily to mold, making sandcastles!
Having had lots of fun with our homemade sand we wanted to share our recipe for how to make moon sand that is taste safe and fun!

How to Make Moon Sand
Moon sand/DIY sand is incredibly easy to make. It only requires 2 ingredients, is taste safe for curious minds and is ready within minutes!
How to make moon sand tip: moon sand lasts quite a long time if you keep it in an airtight sealed container or an air tight sandwich bag.

Moon Sand Recipe Instructions
Follow these instructions to make some awesome moon sand:
- Grab a mixing bowl
- Add 8 cups of flour
- Make a hole in the middle of the flour
- Pour 1 cup of vegetable oil into the hole
- Work the sand and flour together with your hands until the flour has absorbed all the oil

Your moon sand is ready for sensory play!

How to make moon sand tip: we find using 8 parts flour to 1 part oilgives a nice consistency moon sand that is easy to mold. We use 8 cups of flour and 1 cup of oil for the large bin in our Flisat sensory table. If you have a smaller tub then try 4 cups of flour and half a cup of oil

Alternative/Optional Ingredients
If you are confident your kids won’t try to taste the moon sand then:
- add some essential oils to give it a nice fragrance (not taste safe)
- substitute baby oil for vegetable oil (not taste safe)

You can adjust the recipe to change the consistency of the moon sand:
- If your moon sand is too oily: add more flour to absorb the oil
- If your moon sand still feels like flour: add more oil and work it into the flour

How to make moon sand tip: we’ve included printable instructions at the end of this post to make it easier to prepare your own moon sand!
Sensory Play ideas using Moon Sand
Messy sensory play is fantastic for encouraging kids to explore, engage and create. Moon sand lends itself perfectly to construction and beach themed sensory play.

Construction themed Sensory Table with Moon Sand
Construction vehicles work really well with moon sand if your kids enjoy it. We love using our road work toys and play roads to enrich our sensory play.
How to make moon sand tip: Our 2 year old is obsessed with construction vehicles so we bring it into most sensory play activities!
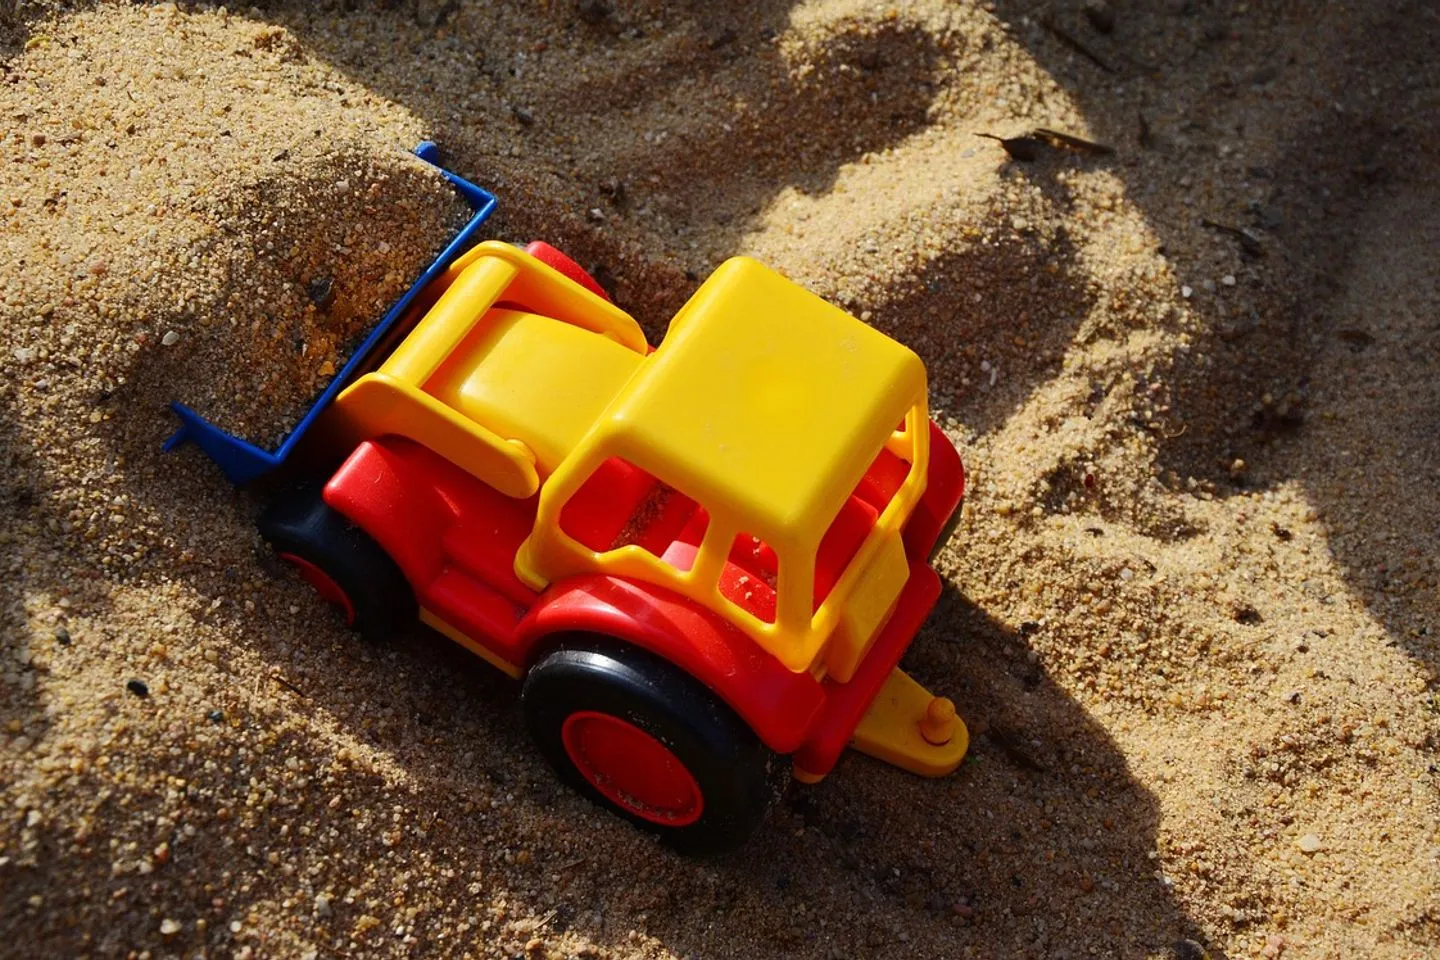
Beach themed Sensory Table with Moon Sand
Sand + beach, beach + sand…. beach themed sensory play is an obvious choice when sand is involved! We usually grab parasols, boats, play people and anything else beach themed that we have in our existing toy collection!
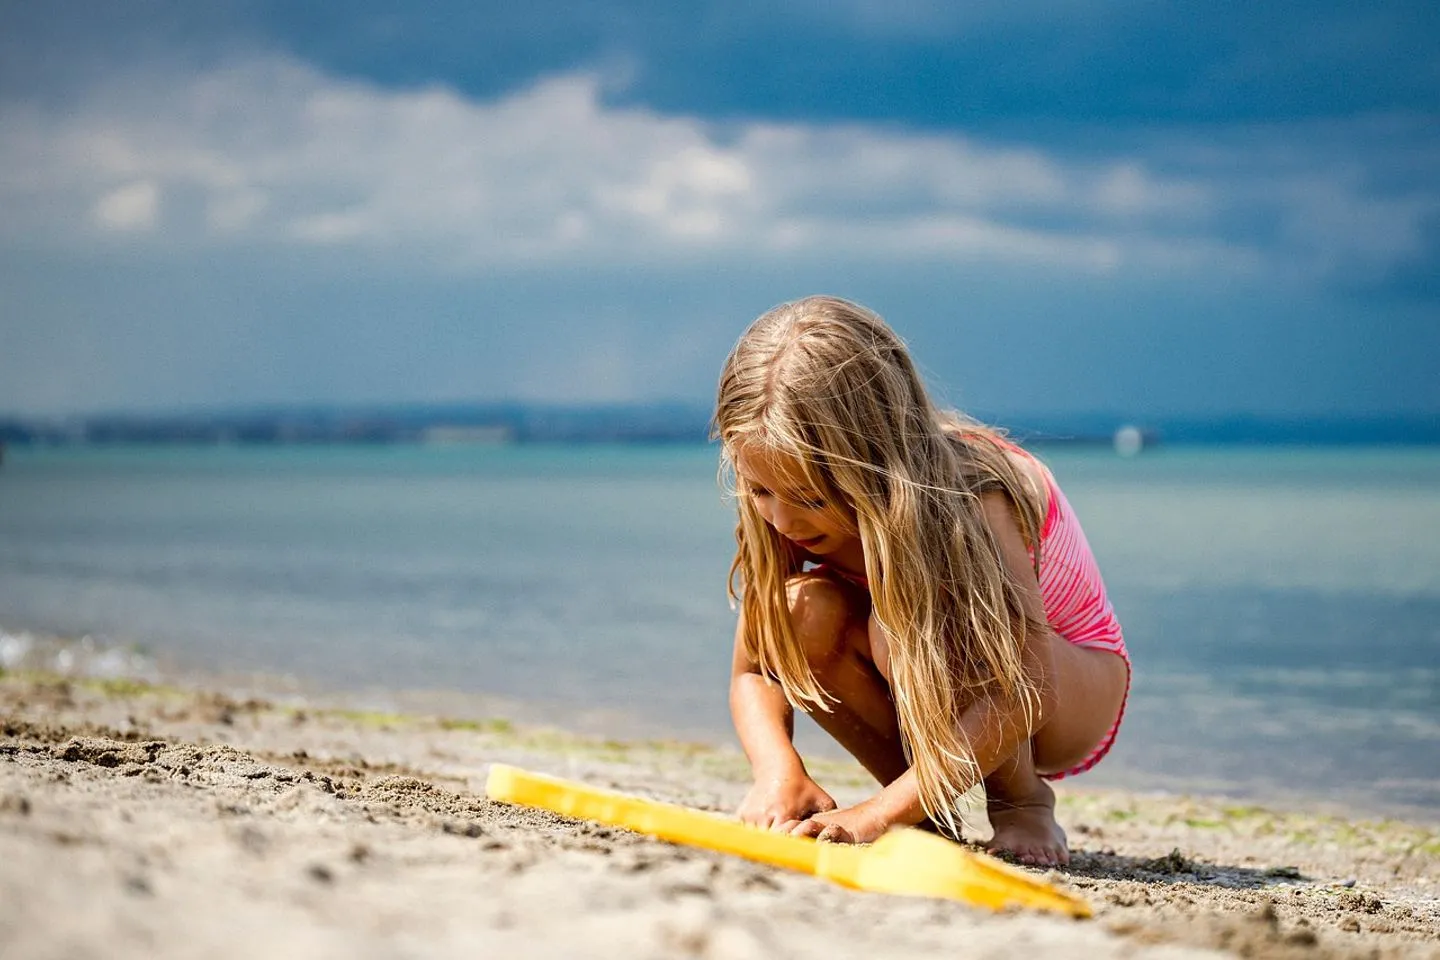
Sand and Water Sensory Table with Moon Sand
We like to introduce water to the moon sand sensory play when we know we’re going to make a new batch of sand. Our toddlers love a beach themed sand and water play session before we say goodbye to the sand.
How to make moon sand tip: Be warned, introducing water makes moon sand play extremely messy as the sand gets gloopy. Dress your kids in old clothes that you don’t mind getting a few new stains and put a waterproof sheet under the trays. We always move these sessions to the garden!
How to make moon sand tip: Moon sand will last for a long time if you store it in an airtight container or sandwich bag. We make new sand after 3 or 4 play sessions: our toddlers like to add little extras from the garden and the moon sand can start to get dirty!

Sandcastles and Sand Molds Sensory Table with Moon Sand
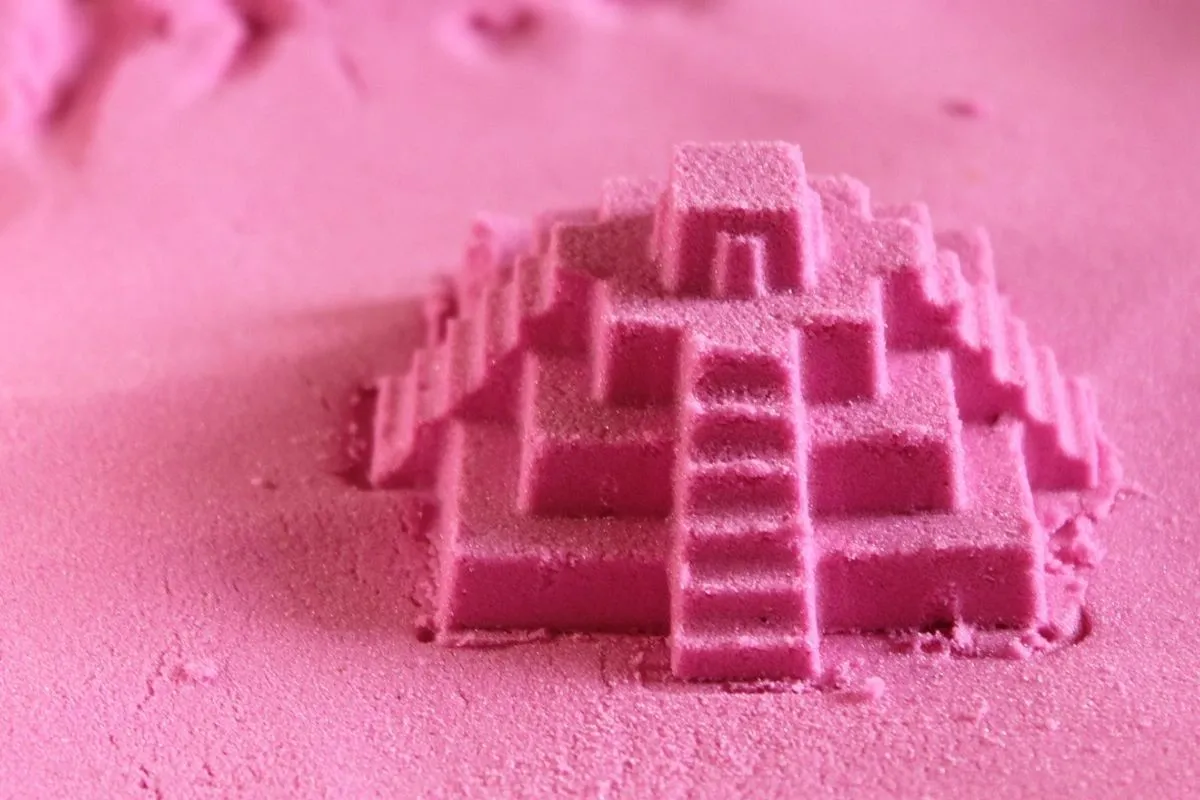
Moon Sand molds really well and can be used to make sandcastles and sand molds.
Tips for Sensory Play with Moon Sand
- Move it to the garden: we often move our sensory play set up to the garden when the weather allows. As well as reducing mess and clean up, it also allows the kids to incorporate materials from the garden into their sensory bins. Just make sure it is safe for the birds!
- Wear old clothes: sensory play can get messy so we keep some over sized t-shirts for the kids to wear and store them alongside our sensory play materials.
- Set up a sensory play area: if our sensory play is likely to get messy we usually set our Flisat up on a mat or bed sheet. This makes it easy to collect everything that’s spilled over. If you are playing with water then a waterproof mat or shower curtain liner are great for catching overflow.
- Prepare the sand in advance: moon sand can be kept in a zip lock or sealed container and will last through multiple play sessions.
How to Make 2 Ingredient Moon Sand
This moon sand recipe makes a taste safe sand which is fantastic for sensory play. It is perfect for use in sensory bins and for sensory table activities. Our toddlers love using the moon sand for beach and construction themed sensory play with their Flisat table!
Materials
- 8 cups of flour
- 1 cup of oil
Tools
- Mixing bowl
- Measuring Spoon
Instructions
- Add 8 cups of flour to mixing bowl

- Make a hole in the middle of the flour (like a volcano!) and add 1 cup of oil

- Mix it all together until the flour has absorbed all the oil
Notes
Both baby oil and vegetable oil will work for this moon sand recipe. We prefer vegetable oil as it is taste safe
If you don't need something taste safe then baby oil is a great option and it smells great.
Sign up to our Newsletter
Get all our best craft ideas, projects and inspiration direct to your email each month